Introduction
The global shift toward renewable energy has made solar power an increasingly popular choice for homeowners and businesses alike. From reducing carbon footprints to lowering electricity costs, solar energy offers numerous benefits. However, designing and implementing a solar power system is a meticulous process that involves careful planning and execution. This blog explores the journey of solar design—from initial concept to final completion—to give you a comprehensive understanding of how a solar project comes to life.
Step 1: Identifying the Need and Setting Goals
The solar design process starts with identifying why you want to invest in solar energy. Are you looking to power an entire building, supplement grid electricity, or create an independent off-grid system? Determining your specific goals will influence the size, type, and configuration of the solar system.
Key Considerations:
- Energy Consumption: Assess your electricity usage to determine the capacity needed.
- Budget: Define a realistic budget for installation and maintenance.
- Location & Environment: Consider local weather conditions and sunlight availability.
- Government Incentives: Research possible tax credits, grants, or rebates.
Step 2: Site Analysis & Feasibility Study
Before proceeding with the design, a site assessment is conducted to evaluate solar potential and feasibility. This involves collecting data on roof space, shading, orientation, and structural integrity.
Important Factors in Site Assessment:
- Solar Irradiance: Checking sunlight exposure throughout the year.
- Shading Analysis: Avoiding obstacles like trees, buildings, and chimneys.
- Roof Structure: Ensuring the roof can support the weight of panels.
- Space Availability: Examining open land options for ground-mounted solar systems.
Step 3: Designing the Solar System
Once feasibility is established, engineers and designers begin creating a system tailored to the site and energy requirements. This step involves selecting key components such as solar panels, inverters, batteries, and mounting structures.
Solar System Design Considerations:
- Choosing Solar Panels: Monocrystalline vs. polycrystalline vs. thin-film panels.
- Inverter Selection: String inverters vs. microinverters vs. hybrid inverters.
- Battery Storage: Options for backup power and energy independence.
- System Layout: Optimizing panel placement for maximum sunlight capture.
Step 4: Permits & Regulations
Solar installations must comply with local building codes, utility regulations, and environmental policies. Before installation, necessary permits must be obtained from relevant authorities.
Common Regulatory Requirements:
- Electrical Permits: Approvals from local electrical authorities.
- Zoning Laws: Rules governing solar installation on residential/commercial properties.
- Utility Approvals: Coordination with grid operators for net metering.
- Environmental Permits: Considerations for impact on the ecosystem.
Step 5: Procurement & Installation
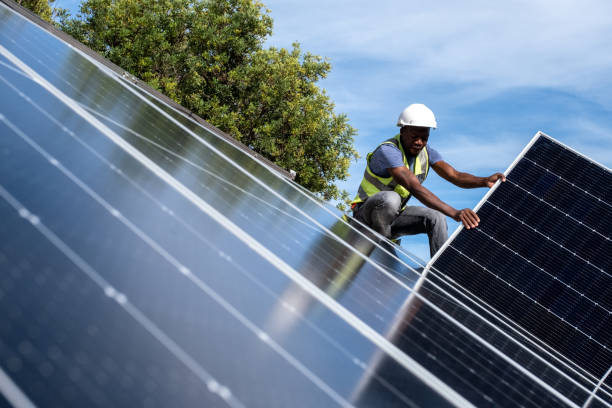
Once permits are secured, the actual installation process begins. This step involves procuring equipment, preparing the site, and deploying the solar array.
Installation Process:
- Mounting System Setup: Installing roof racking or ground mounts.
- Panel Installation: Fixing solar panels securely onto mounts.
- Wiring & Connectivity: Connecting panels to inverters and batteries.
- Grid Integration: If applicable, linking the system to the local electricity grid.
Step 6: Testing & Commissioning
After installation, the system undergoes testing to ensure everything functions properly. Performance checks and electrical inspections are conducted before commissioning the system for use.
Key Testing Procedures:
- Electrical Safety Checks: Ensuring proper wiring and grounding.
- Performance Testing: Verifying energy output meets expectations.
- Grid Connection Verification: Confirming smooth integration with utilities.
- Software & Monitoring Setup: Configuring smart monitoring tools for efficiency tracking.
Step 7: Maintenance & Optimization
Solar systems require ongoing maintenance to ensure efficiency and longevity. Cleaning, periodic inspections, and monitoring help keep the system running optimally.
Essential Maintenance Practices:
- Panel Cleaning: Removing dirt and debris to maintain performance.
- Battery Inspection: Checking for degradation in storage capacity.
- Software Updates: Enhancing system intelligence through firmware upgrades.
- Troubleshooting & Repairs: Addressing inverter or wiring issues promptly.
Conclusion
The journey of solar design—from concept to completion—is a carefully orchestrated process that transforms an initial idea into a fully functional energy system. By understanding each phase, individuals and businesses can make informed decisions to maximize their investment in solar energy. Whether you’re considering solar for sustainability or financial savings, meticulous planning and expert execution ensure a successful outcome.

